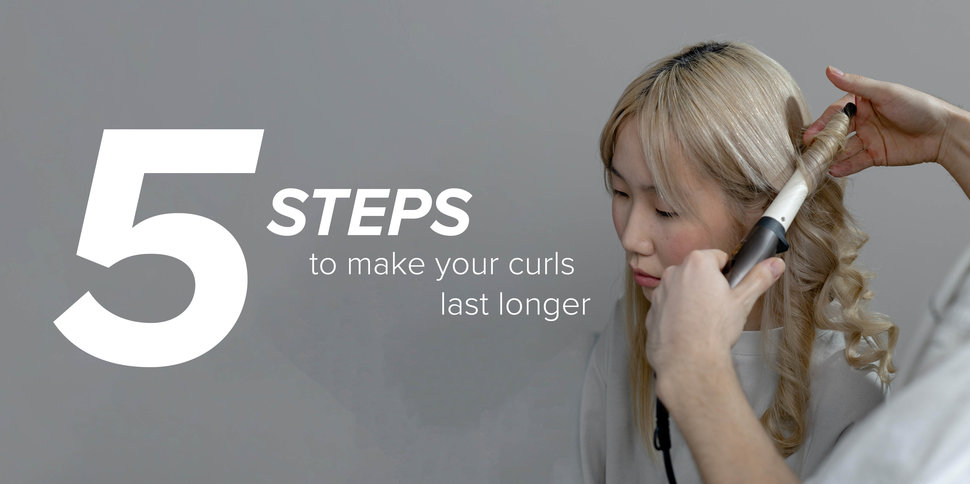
5 steps to make your curls last longer

We love beautiful bouncy curls. What we don’t love is spending time creating curls with a straightener or curling iron just for them to lose their bounce within a matter of hours. We want long-lasting curls. Follow our five steps to create gravity-defying curls that will last all day long!
STEP 1: THINK OF YOUR CURLS WHEN WASHING YOUR HAIR
Preparation is key for creating long-lasting curls. This starts when you’re washing your hair. Especially conditioner plays a big part. It makes your hair soft and smooth and with that, it can cause your curls to fall flat. To avoid that, you can leave the conditioner out of your routine, or you can use less than you usually do. If you’ve got naturally fine and soft hair, it’s best to use a shampoo that adds texture and grip. The Walk On The Beach Seaweed Shampoo, for instance. This shampoo gives you light, airy, full hair and adds texture, creating more grip for the curls you’re going to create.
STEP 2: PREPARE YOUR HAIR
Washed your hair the right way? Good. Now it’s time to prepare the hair while it’s still wet. The My Hero Wonder Spray is a great product to start with. This spray detangles, hydrates, protects, strengthens, adds shine and equalizes the hair shaft for better styling results, so the products you use after this will work better and the result will last longer.
Next, you’re going to use a product that adds grip to your hair. Grip is exactly what you need to create long-lasting curls. Which product you should use, depends on the type of hair you have and the look you’re going for.
- Got fine hair that tends to look dull and lifeless? The Supernatural Thickening Cream is the one for you! This cream contains wheat protein, which adds strength, hold and fullness.
- If you’re looking for a product that leaves your hair feeling soft instead of textured, you can use the Curl’s Best Friend Styling Mousse or the Date Night Thickening Spray. Both products add volume, body and hold while keeping the hair soft and touchable.
Good to know: all of these products contain a heat protector. When working with a straightener or a curling iron, always use heat protection to prevent damage to your hair.
STEP 3: CREATE THE CURLS
Once your hair is dry, you can start working with a straightener of curling iron to create the curls. With this step, it’s important to make sure you have a tool that gets warm enough so you can create proper curls. It’s also wise to invest in tool with ceramic plates or a ceramic coating. This will evenly distribute the heat, causing less hotspots and less damage to the hair. Bonus: it also adds a nice shiny finish!
STEP 4: LET THE CURLS COOL DOWN IN THE RIGHT SHAPE
Okay, this requires some extra time and a lot of bobby pins, but this step is really going to make a difference. Take each freshly made curl while it’s still warm, roll it up and pin it down on top of your head. This way, the curls will cool down in the right shape and gravity won’t be able to drag them down and straighten them while still hot. Let them all cool down, take the pins out and there you go: Hollywood approved curls!
STEP 5: FINISH WITH THE RIGHT SPRAY
Crispy, crunchy, rock-hard curls? No thanks! When setting your curls with a spray, you want your curls to remain touchable. Invest in a high-quality, lightweight hairspray to make your curls last without sacrificing their soft and bouncy feel. The Hold It There Finishing Spray, for instance. This spray gently secures your style while keeping it flexible and touchable. It also contains a pollution filter that fights off free radicals during the day. Those nasties can weigh the hair down, thus causing your curls to straighten out. By protecting your hair from free radicals, your curls will be bouncy, airy and voluminous for as long as possible!


